Most relevant for fellow solo female backpackers.
Where I went
I entered Seychelles, Tanzania, and Zambia by flight. From Tanzania, I took buses to Kenya, Uganda, and Rwanda. From Zimbabwe, I took a bus to Mozambique and from there I got myself a ride to South Africa through someone I met while I was volunteering. I hitch-hiked and walked a lot in between as I was extremely on a budget. This was my first time in Africa and my first-time backpacking alone.
Below’s a summary of the lessons I’ve learned that I would share with future fellow backpackers crossing borders in Africa.
Before Traveling
1. Don’t cross the border to any country without first checking the VISA requirements
- This is highly relevant for those holding a weak passport like me (Philippines). Do not attempt to cross the border to a country when you are not certain if that country will grant you a visa upon arrival.
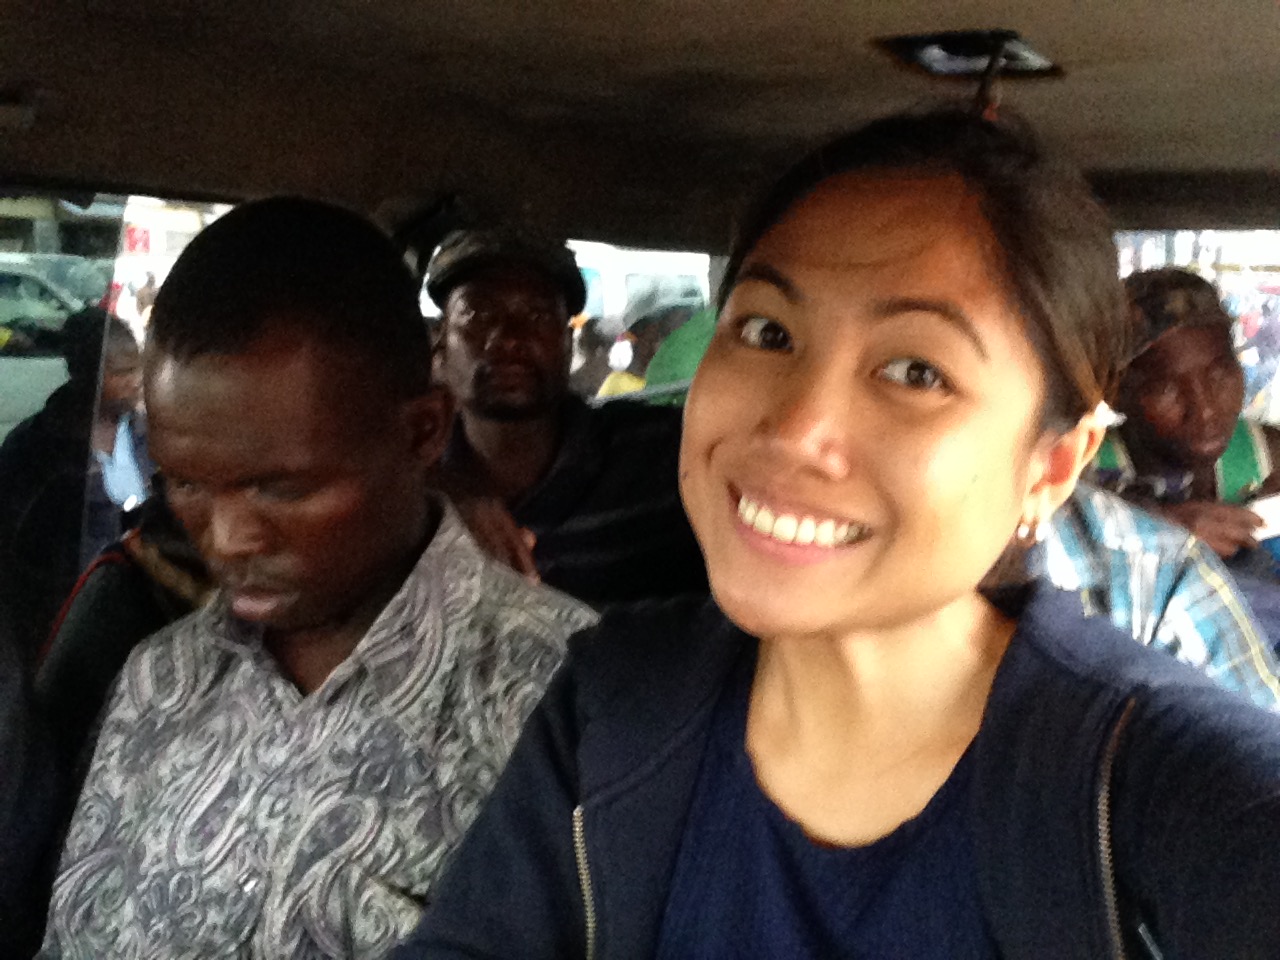
- Scenario: I was holding a single-entry visa in Zimbabwe, which I had to apply at least 3 days before. Now, I wanted to cross the border to Mozambique but I wasn’t sure if I could get a visa upon arrival in that border. I had to get help from a local who crossed the border and asked the officers on Moz side, then came back for me to give me the go-ahead to cross. If for example, I left Zimbabwe and the Moz side suddenly tells me I need a visa upon arrival, then I would have been stuck in between because I cannot just go back to Zimbabwe again after they have stamped me out.
2. Don’t rely on blogs and online articles alone as immigration rules change from time to time
- The official immigration website of your intended destination is your only source of reliable up-to-date information. If the information listed here is not clear, it’s best to send them an email to inquire and keep their response handy just in case you need to present it to the immigration officers
Official immigration sites usually use .gov domains
3. Bring both the original and photocopy of your important documents:
- Passport with enough blank pages and is valid for the next 6 months
- Yellow fever certificate
- Passport photos
- Birth Certificate
- Legal document to prove permanent residency (if residing elsewhere)
- Return ticket out of Africa (I use a free reservation ticket from Emirates website)
It’s best to have these especially because you will often not have internet access to look up these files nor find Internet cafés and photocopying centers at your convenience.
4. Constantly check the news for current safety situation of your intended destination
- At the time of my travel, I was supposed to take a bus from Kigali, Rwanda to Bujumbura in Burundi. If not through the host I contacted via couch surfing, I would not have known that Bujumbura is having a political turmoil. Her windows were broken from random gunfires at the time I was communicating with her.
5. If volunteering or couch surfing, research the location of hostels in the city as an alternative
- This is a useful plan B and applicable everywhere else in the world especially in Africa where you won’t always have internet access to research for other options and where there are only a number backpacker hostels available around.
I was lucky to find female couchsurfing hosts. In the photo was my host in Uganda who visited me in the Philippines a year after!
6. Don’t travel without cash and keep USD as opposed to Euro
- Not all places have ATMs. If they do, there’s a likely chance that they would be offline or your card won’t work. Also, you don’t want to find yourself in the middle of the night looking for an ATM.
- At the border, there will always be locals waiting for 24/7 ready to exchange your money
- In general, USD would be the best currency to keep because they often have the best exchange rates and in some places, you can even pay directly with it.
7. Download the full country map of your next destination and make sure it works offline
- I use maps.me for this and it works very well in all African countries I have visited.
- You need to have a stable internet to download each map but once you have the map on your smartphone, then it works offline. Like google maps and maybe all other navigational apps, it shows your current location and you can see your movement in real-time even when walking. I was surprised at how accurate it worked in Africa considering the lack of street and road signs and it helped me get through a DIY solo walking tour with just that.
8. Choose where you will sit
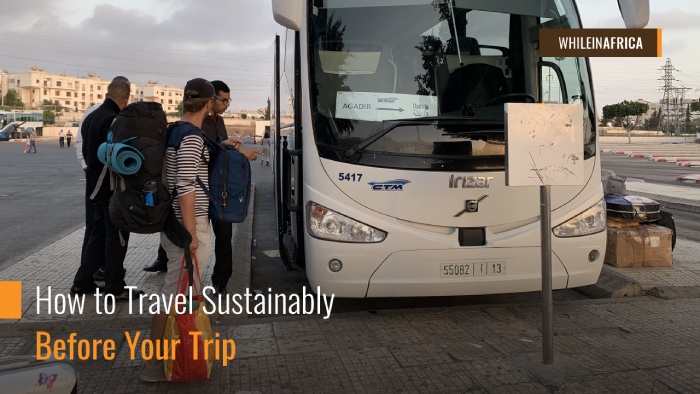
- When available and especially for overnight buses, I always take the VIP seat, which is often isolated with bigger legroom. For a small added cost, I can get better sleep, which I so rightly deserve. Otherwise, I choose aisle seat unless I’m very certain that a woman would be sitting next to me if I take the window seat. Why?
I’ve had several encounters where I would sit by the window, and some random “dodgy“ guy would take the seat next to me and so I would be literally trapped in that corner.
9. For women, don’t wear shape-defining and revealing clothes
- This one’s obvious but still worth mentioning. As a solo female traveler, you don’t want to be attracting extra attention. In my case, I was Asian so that alone got me stares from random people.
10. Choose travel times where you will arrive in the middle of the day
- The streets are not well lit and some alleys can get dark and deserted. Note that even local females refrain from walking alone at night.
Always plan a trip where you arrive in daylight! I usually book an overnight bus so I get to sleep in the bus and save a night of accommodation and arrive in my next destination the following morning
While Traveling
11. Keep all your valuables in one bag, which by all means, you should guard with your life
- When taking buses, your main backpack would most likely be stored in the side compartment, which is okay. However, keep a separate bag to hold your money, passport, laptops, and other valuables you cannot afford to lose. You must bring it with you when you go to the toilet, and hug it when you sleep. No excuses.
12. Initiate a conversation with the locals whenever possible but don’t be over-friendly especially towards men
- When traveling, try to initiate a conversation with the person next to you. That person will often be happy to help and be on the lookout for you knowing that you’re by yourself. As a local, they would also be the best person to get tips from such as how much to pay for a taxi, what’s the best place to see, which local foods to try. No blogs and articles can give you information as good as that. When talking to strangers, use your best intuition as you don’t want your friendly moves mistaken for anything else.
I usually target to make conversations with a solo local traveler too. And I find that men are more ready to help than women
13. When you arrive at your destination, start inquiring about the bus schedules of your onward destination
- If you’re planning to cross another country, it’s best to start inquiring about the bus schedule of your intended onward destination since you’re already at the terminal anyway. This is because there’s not so much information you can find about bus schedules online.
14. When crossing the border and passing through immigration control, stay close to your co-passengers
- As you would need to get off the bus, walk to the border, get in line in the immigration control, and do the same thing on the other border, it would be best to remember the faces of your co-passengers and silently follow their lead. Also, try not to be the last in line nor the very first to go through the entire procedure. Being somewhat in the middle allows you to see how things are done so you can prepare when it’s your turn and at the same time avoid the anxiety of the bus possibly leaving you.
Other Essential Tips
15. Buy a local sim card and bring a separate travel phone
- A local sim card costs a dollar. Spend around 2 dollars more for credits and that should allow you to register for internet access. I always keep an extra phone that I use for local numbers and then I have another smartphone with my permanent number. Not that it’s of any use to me but it’s still nice to have a constant number that my friends and loved ones know just in case.
16. Invest in a reliable Power Bank
- Because electricity in Africa is not the most reliable, power banks would sometimes be the only power source for your gadgets.
17. Also, download the main language spoken in the place you’re traveling to
- English is not widely spoken in all African countries. When I came to Mozambique, I didn’t expect that people speak very little English and it certainly would have saved me time and trouble if I had thought of downloading Portuguese to help me communicate with the locals especially because I was asking for directions all the time.
18. Pack light but don’t go light on insect repellants and other recommended sickness prevention medications
- All backpackers understand the importance and unbeatable convenience of packing light. This is especially true in Africa where you would mostly be walking a lot, or carry your bags atop your legs in a cramped van because there’s not enough room in the compartment.
- When packing, just bring the ones you need and let go of the “just in case” items. I suggest not to bring more than two bags. Insect repellants and sickness prevention medications would be convenient to have. Shawl, wet wipes, a bottle of water, a good book, and emergency crackers were a must-have in my African land journey as well.
The lighter you pack, the more room you’ll have for experiences 🙂 A heavy load slows you down and bears no benefits at all





0 Responses
Great article! Really useful tips and tricks.
Great article and great tips!!
I second the recommendation on maps.me app for navigation. Also, you can download tips that travelers shared with each other in the Mzungu backpackers community website, and the tips sync to your maps.me!
Some very useful tips here although I don’t agree entirely with point no. 2.
I agree that “immigration rules change from time to time” – and that has certainly been the case here in Uganda – but I’ve noticed that my blog is often more up to date than government sites. This is because a) they don’t update them b) they don’t reply to emails and c) I get frequent comments and questions from travelers. I do encourage people to check for the official answer but that info is not always forthcoming.
Hello thanks for your tip! But what I mean by this is that a blog cannot be used as a proof of anything. You cannot argue with the immigration officer and show them a certain blog as a reference. Whereas, if you show them an info from the official website, they will actually acknowledge it as what happened to me when I went to Zambia without a visa (at that time their official website says my passport can get visa on arrival). With this as my proof, they were compelled to give me the VOA. So for reference, blogs will help for sure but the last say (when in doubt) would still have to come from official sources 🙂
I am driving London to Cape Town, and maps. me will help me a lot!!
Have a great journey!